01 / BUILD THE CONTROLLER
A place to
bring it together.
The Korvo holds the experiment’s world state and timing, and hosts the fleet controls, planner and learning lab. Its consolidated view helps you follow what the individual nodes express.
Build the controller ↓
Why the controller matters to the experiment ↗
This guide covers the ESP32-S31 Korvo implementation. The
LilyGo handheld is a separate, optional management device.
01 / HARDWARE
Start with
the right host.
Use the ESP32-S31 Korvo board with its 800×480 display and touch interface. Prepare its microSD storage, a USB data connection for flashing and the board-specified power source.
The touchscreen host is distinct from the Waveshare ESP32-S3 fitted to each panel. Their firmware targets and SDK requirements are different.
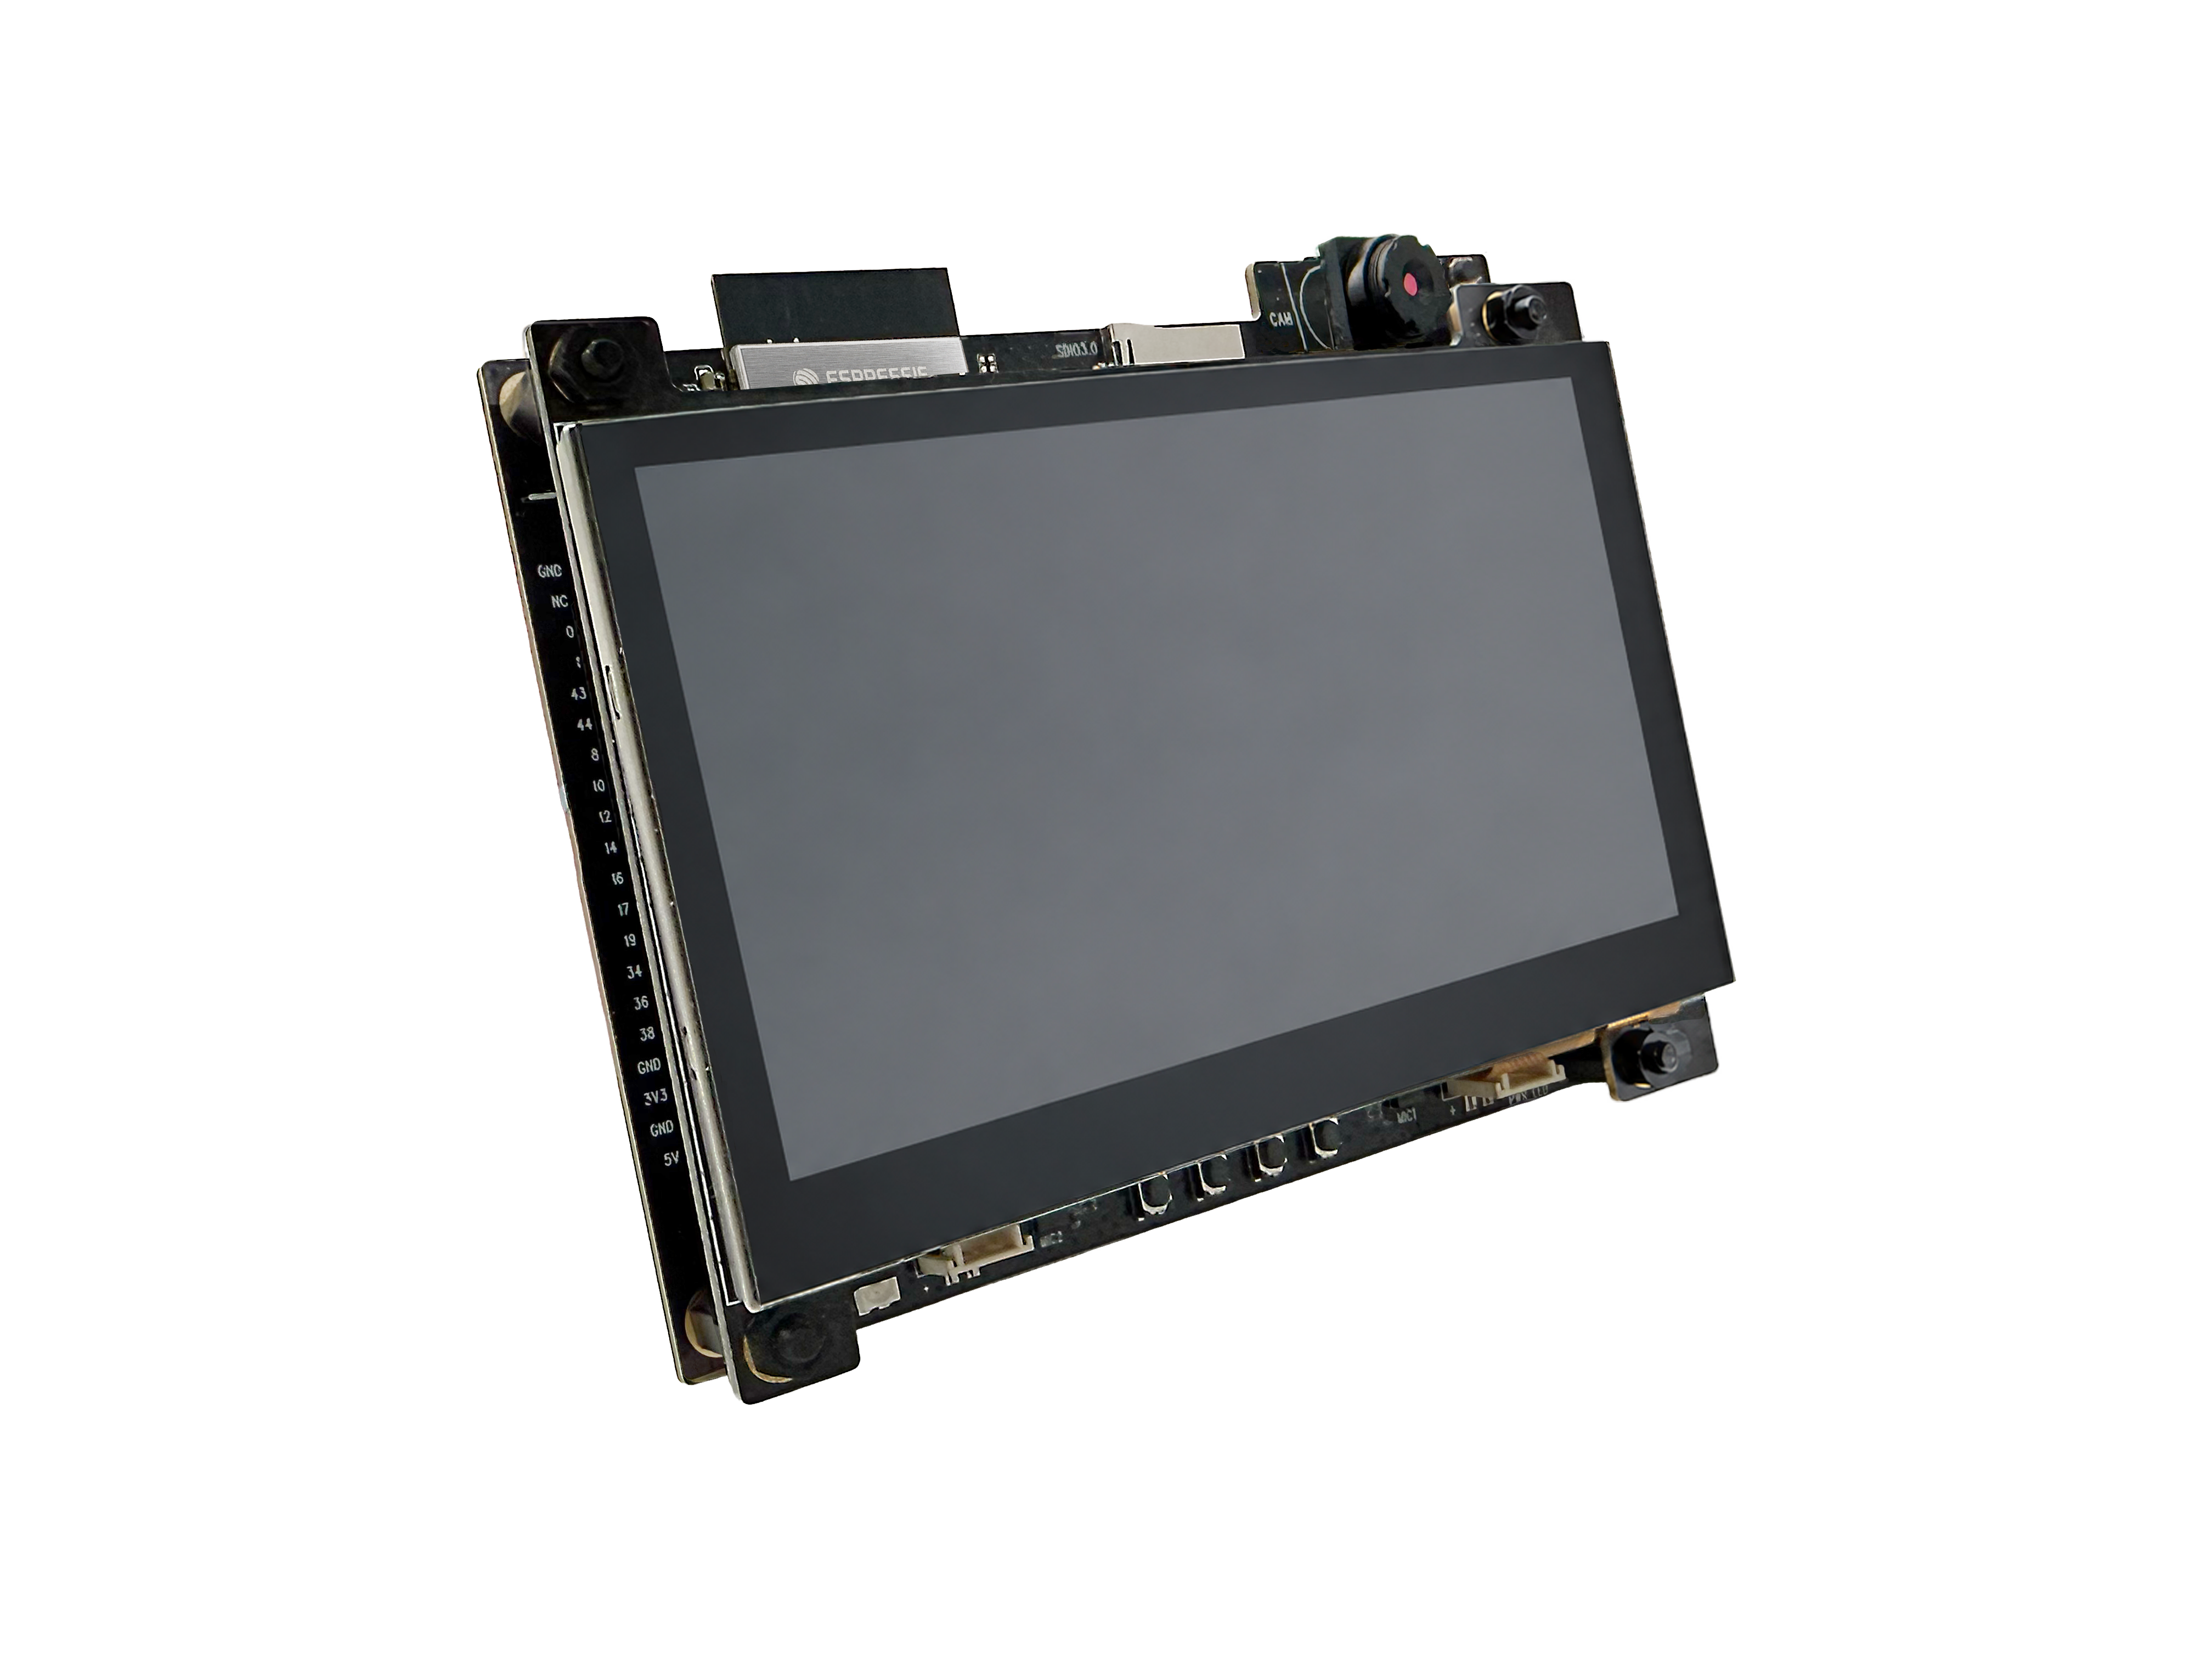
CHECKConfirm the exact board revision and its power requirements before connecting it. The panel-wall calculator excludes the Korvo and its display; budget and power that host separately.
Controller hardware and setup ↗02 / ENCLOSURE
Start from
the original case.
The small Korvo enclosure comes from Espressif’s open source ESP32-S31-Korvo-1 project. Its top shell, bottom shell, light guide and stand are available as STEP and STL files. The project owner has printed and used this case.
The Korvo is a prebuilt board-and-display module. The build is mainly fitting that module into the printed enclosure, then flashing and provisioning it. Start with the assembled view; choose Exploded to see the top shell, display, main board and lower shell.
The case uses original STEP geometry at its source scale. The main-board envelope is 106.5 × 89.2 mm from Espressif’s drawing. Electronics, display placement and mating positions are simplified illustrations; use the original drawings for fit. The shell outline is 110.9 × 97.8 mm.
- Download the pinned original files and match the Korvo board revision to the upstream reference.
- Print the top and bottom shells and optional stand. Use the light-guide part if fitting the RGB indicator.
- Use the upstream reference image to identify the screen surround, board mounts and port openings. Check fit on the unpowered assembly, preserving microphone, USB and card access.
- Close the case without loading the glass or trapping the display cable. Check touch, buttons and connectors before commissioning.
Korvo dimensions ↗ · Schematic ↗
A SEPARATE DESIGNThe larger 7-inch Flockinator terminal and sensor deck are different engineering studies. They are not the original Korvo case and should not be substituted for this host.
Original four-part enclosure files ↗ Model sources, transformations & limits ↗03 / BUILD & FLASH
Its own firmware.
Its own toolchain.
Use the pinned ESP-IDF 6.1 and esp-dev-kits revisions in the
controller README. Activate that ESP-IDF environment, set
KORVO_SDK_PATH to the pinned board SDK and work from
firmware/korvo-monitor.
idf.py --preview build
idf.py --preview -p YOUR_KORVO_PORT flash
idf.py --preview -p YOUR_KORVO_PORT monitor
Replace the port with the positively identified Korvo connection. On a network-mounted workspace, use the README’s local build-copy procedure.
CHECKKeep a recovery path for your device. The documented historical full-flash erase is not a general instruction to erase an existing controller.
Pinned SDK setup and build commands ↗04 / PROVISION
Introduce
the flock.
Bring up the controller on your local network and open the address
shown on its screen. The host serves fleet controls at
/, the planner at /planner and the
learning lab at /lab.
Provision the reference fleet roster through the MAC-verified USB tool. Each entry binds a panel to its own identity and management key. Pass credentials through the documented private input flow, never in command-line arguments or public files.
CHECKThe current provisioning and UI are built around sixteen nodes. Adapt and test those paths before using a different fleet size. Do not duplicate a node identity to fill a slot.
Network, operator PIN and roster provisioning ↗05 / ACCEPTANCE
A screen you can
see and trust.
Ticks are a reading aid, not stored acceptance records. Fresh telemetry alone does not establish that every peripheral works.
Controller acceptance criteria ↗Next: build one panel ↗